From Sketch to Reality: Mastering Product Design with Inventor
Welcome, aspiring inventors and product design enthusiasts, to the exciting world of Inventor! Today's blog delves into this powerful 3D CAD (Computer-Aided Design) software application from Autodesk, a game-changer for turning your innovative ideas into tangible prototypes.
Why Choose Inventor for Product Design?
Inventor equips you with a comprehensive set of tools specifically designed for product design workflows. Here's what makes it a favorite among designers and engineers:
- Intuitive Interface: Inventor boasts a user-friendly interface that streamlines the learning curve. Menus, commands, and tools are well-organized and accessible, allowing you to focus on creating your designs.
- Parametric Modeling: Inventor utilizes a powerful parametric modeling approach. This means you can define your design's core parameters and dimensions. Any changes made to these parameters automatically update the entire 3D model, ensuring consistency and efficiency throughout the design process. For instance, if you adjust the width of a phone case in Inventor, the entire case model will update accordingly, maintaining precise proportions.

- Assembly Modeling: Bring your product design to life by creating virtual assemblies in Inventor. Assemble individual parts, define their relationships and motion constraints, and simulate how your product will function in the real world. Imagine designing a complex product like a bicycle. Inventor allows you to create 3D models of the frame, handlebars, wheels, and other components. You can then virtually assemble these parts in Inventor, ensuring they fit together seamlessly and move realistically, just like a real bicycle.

- Detailed Drawings: Generate high-quality 2D engineering drawings directly from your 3D model in Inventor. These drawings, complete with dimensions, annotations, and tolerances, are essential for manufacturing and fabrication purposes. Imagine finalizing your 3D model of a phone case in Inventor. You can then generate detailed 2D drawings that clearly communicate the exact dimensions, material specifications, and tolerances required for manufacturing the phone case, ensuring a perfect fit for the mobile phone.

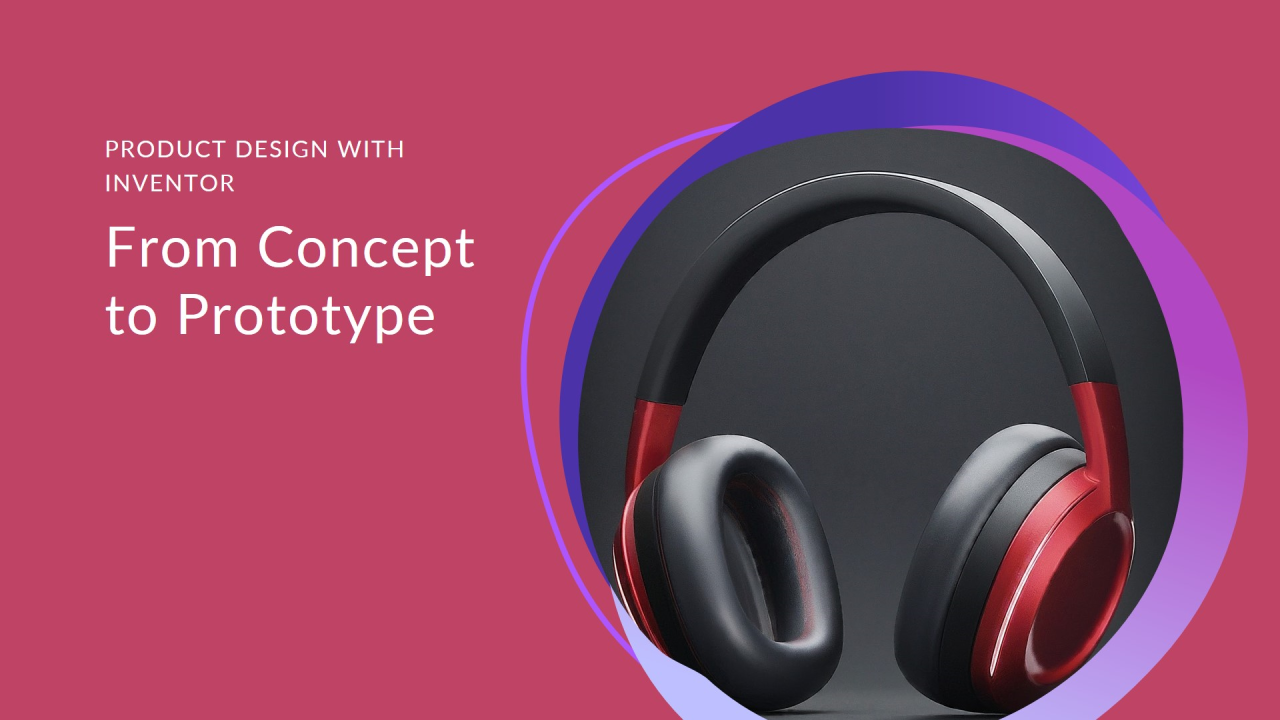
- Realistic Rendering: Showcase your product designs with stunning visual clarity using Inventor's built-in rendering capabilities. Create photorealistic images and animations to enhance presentations, impress potential investors, or clearly communicate design intent. Imagine creating a 3D model of a new pair of headphones in Inventor. Inventor's rendering capabilities allow you to generate high-quality images that showcase the headphones in various colors, lighting conditions, and even with different materials like leather or plastic, providing a realistic representation of the final product.

The ABC Trainings Advantage:
The ABC Trainings program empowers you to master Inventor's functionalities through a step-by-step learning approach. We'll guide you from sketching your initial product concepts to creating detailed 3D models, assembling components, and generating professional drawings.
From Concept Sketch to Functional Prototype:
The product design journey with Inventor can be summarized in these key stages:
- Conceptual Sketching: Capture your initial ideas on paper or using a drawing tablet. Explore different design variations and brainstorm functionalities. Sketching allows you to freely explore ideas and experiment with different forms and functionalities for your product.
- 3D Modeling: Translate your sketches into digital form by creating a 3D model in Inventor. Utilize Inventor's powerful tools to define shapes, features, and parameters. With Inventor, you can meticulously translate your conceptual sketches into precise 3D models, bringing your ideas to life in a digital environment.
- Assembly Modeling: Build virtual assemblies in Inventor by bringing together individual parts and defining their relationships. Simulate product movement and functionality. Inventor's assembly modeling allows you to virtually test how your product will function in the real world. You can identify potential issues with part clearances and identify potential issues with part clearances, range of motion, or potential for interference. This virtual testing phase helps refine your design before investing in physical prototypes.
- Engineering Drawings: Generate detailed 2D engineering drawings from your 3D model in Inventor. These drawings communicate design specifications for manufacturing. Engineering drawings created in Inventor are the technical blueprints used by manufacturers to translate your digital design into a physical product. These drawings include precise dimensions, tolerances, and annotations, ensuring the product is built according to your exact specifications.
- Prototyping: Utilize various prototyping techniques like 3D printing or CNC machining to create physical prototypes based on your Inventor models. Analyze the prototype's functionality and refine your design as needed. Prototyping allows you to create physical versions of your design to test its form, fit, and function in the real world. Through prototyping, you can identify any ergonomic issues, user experience challenges, or areas for improvement before finalizing the design for mass production.

Unleash Your Design Potential!
Mastering Inventor opens doors to a world of creative product design possibilities. With its intuitive interface, powerful features, and seamless integration with prototyping techniques, Inventor empowers you to transform your innovative ideas into real-world products.
Ready to take your product design journey to the next level? Join the ABC Trainings Inventor program and gain the skills and knowledge to bring your ideas to life!
.svg)